Coated Paper for Dye Sublimation Printing
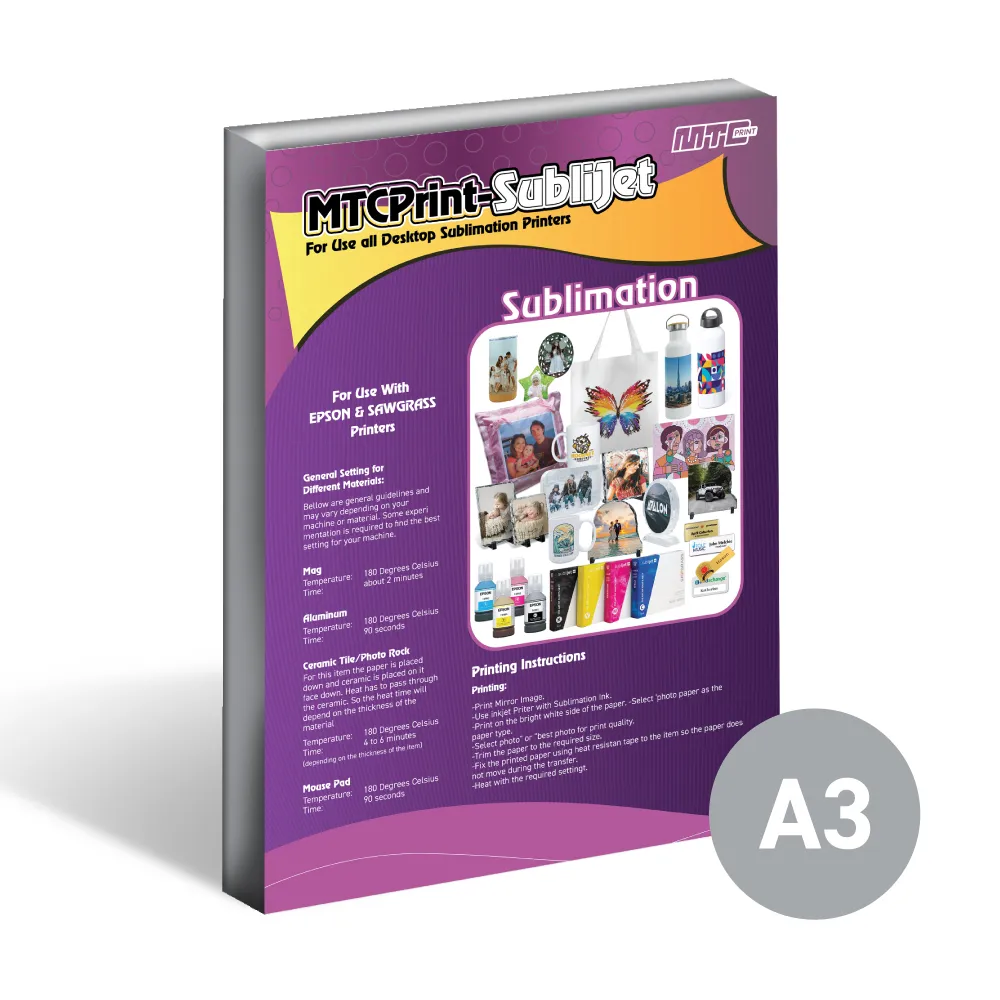
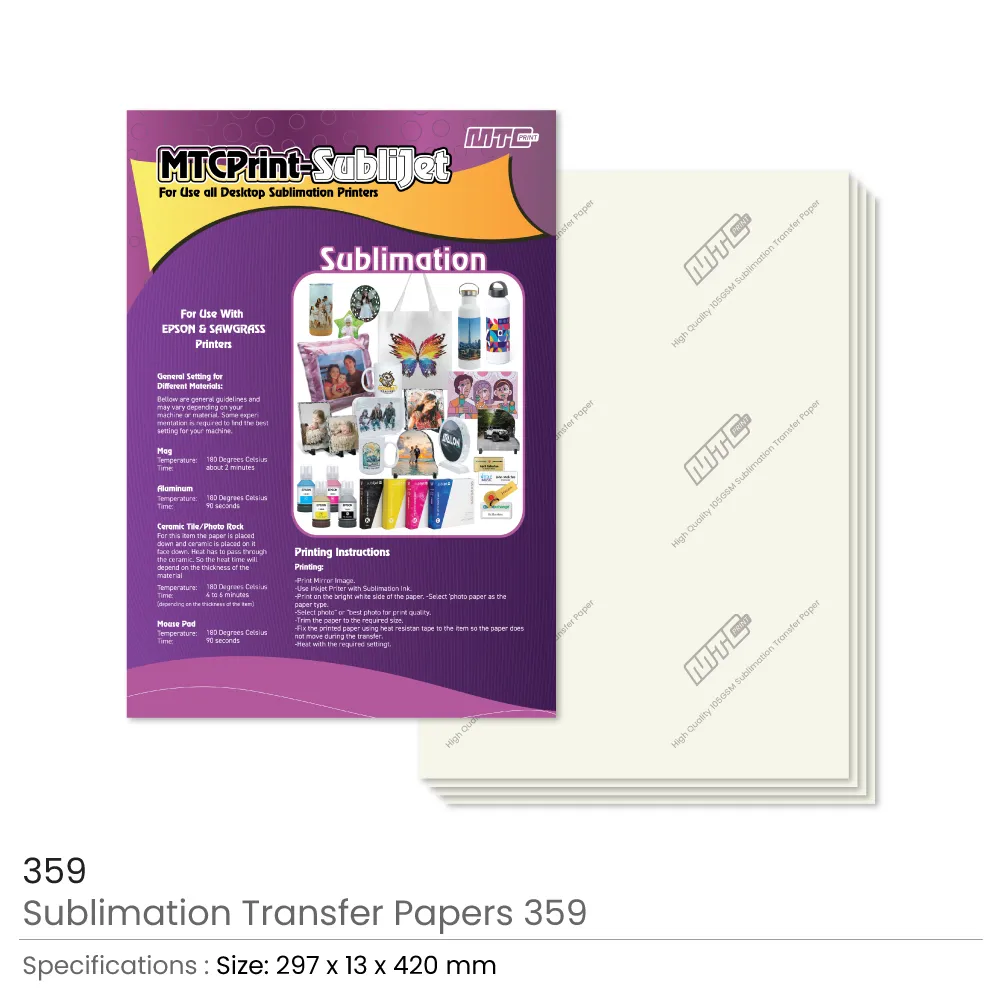
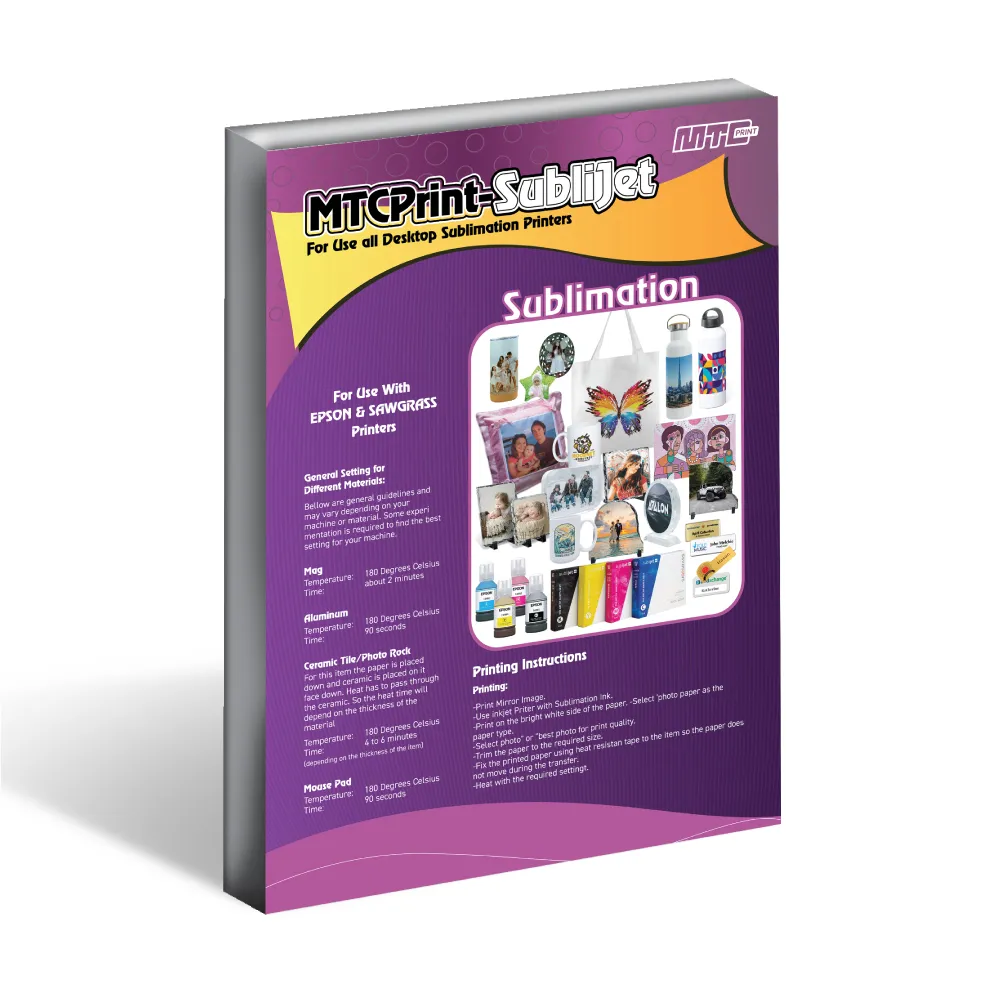
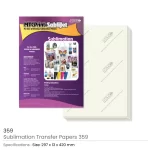
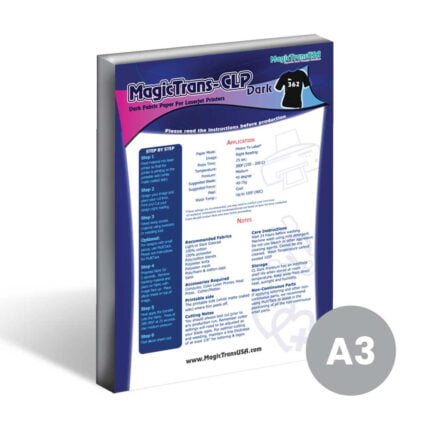
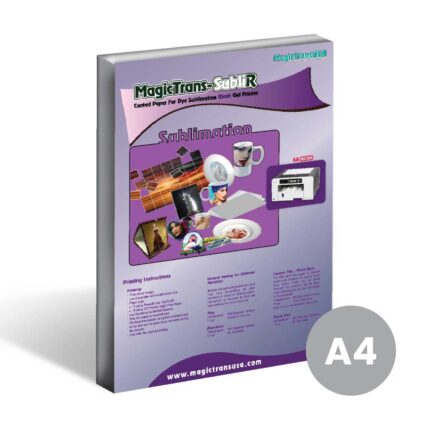
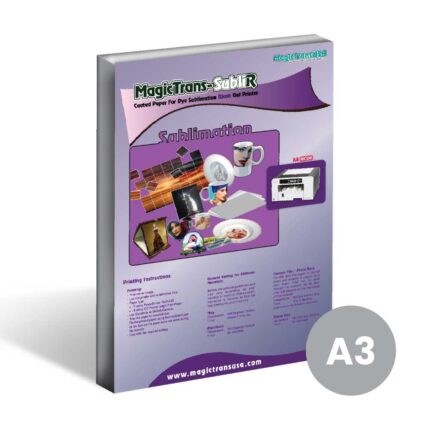
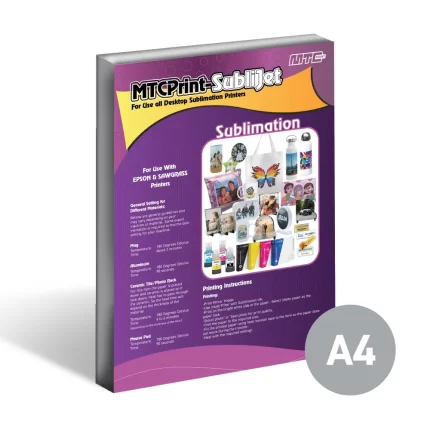
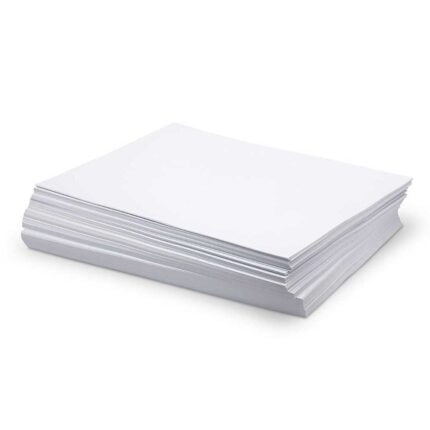
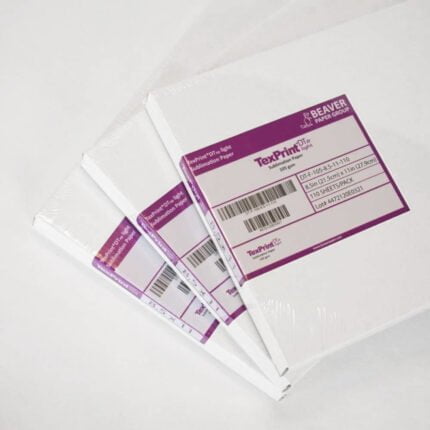
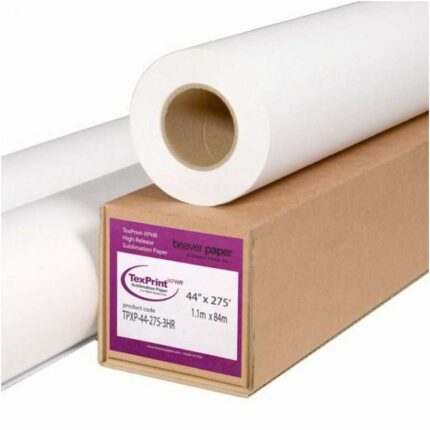
A3 Sublimation Transfer Papers are a unique type of paper that prevents Dye Sublimation Ink from soaking into its surface. Paper made specifically to receive dye-sublimation inks is known as dye-sublimation paper or dye-sub paper. The use of pressure and heat to convert ink during imprinting. Using fine transfer paper, the sublimated ink is imprinted onto a surface that has been coated. The design can be printed on sublimation paper and then transferred to a variety of appropriate surfaces, including mugs, plates, tiles, pebbles, and more. Additionally, transfer paper works well with all heat and pressure machines and produces crispier, more precise transfer printing.
A3-sized transfer and printing areas on sublimation paper are adaptable to a variety of media sizes. Silicate coating is put in vertical grids on high-release dye-sub heat-transfer paper to hold the ink. The heat from the printing press causes the ink to evaporate or sublimate into a gas during printing. A permanent print is created when the emitted ink vapor fuses with the receptor material’s surface. A unique coating on sublimation paper keeps the ink from soaking into the paper.
Instructions
Printing Procedure
Any inkjet printer model is capable of printing on A3 transfer sheets. However, it is advised to use genuine sublimation inks on it to get the most out of this printing and transfer paper. To get better results, choose “Photo Paper” as the paper type, set the printing standard to “Normal,” and then change the quality setting to “Photo or Best Photo Quality.” Never forget that the Transfer technique always requires the print to be transferred facing the medium; thus, before printing the design on paper, set the design pattern to Print Mirror Image. Print on the side of the paper that is a bright white.
Transfer Procedure
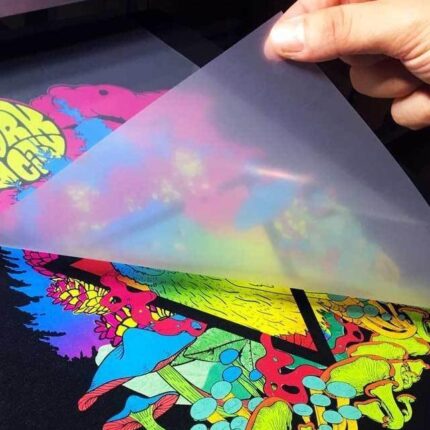
To begin with, make sure the print is completely dry. Trim the design as necessary and eliminate the unprinted films. Now, take off the backing paper and set the printed film down just where you want it in the medium. After that, adhere the printed paper to the item with heat-resistant tape so it won’t move during the transfer by placing the design on top of the medium. Finally, use the medium’s default heat and pressure settings to press the transfer paper onto it. Peel the paper gently, starting in one corner after the transfer is finished. While the paper is still hot, proceed with caution.
Varied substrates have different specifications, including mousepads, tote bags, textiles, ceramics, plastics, metal, glass, and many more. The following is a list of recommended parameters for A3 Sublimation 359:
Mug medium settings could be as follows:
- 180 Celsius is the temperature.
- Ninety seconds
Setting recommendations for aluminum media include:
- 180 Celsius is the temperature.
- Ninety seconds
The following would be suggested settings for ceramic tiles or rocks:
- 180 Celsius is the temperature.
- Four to six minutes
Note: The A3 Sublimation Transfer Papers are downside, and the ceramic is placed face down. Heat has to pass through the ceramic. So the heat time will depend on the thickness of the material
Washing and Ironing Instructions
Wash with care to prevent damaging the design print and causing scratches. Only use cold water to wash the finished product. USE ANY TYPE OF BLEACH OTHER THAN BLEACH TO WASH THE MEDIUM. If the item is made of fabric, dry it in the dryer right away rather than hanging it up to dry. Avoid heating the regions containing printed pictures when ironing the design medium onto a fabric.
General Instructions
Before creating bulk orders, it is strongly advised to test print and wash one output to make sure the ink is appropriate for the medium.
Until they are used, keep transfer papers in a plastic bag to prevent them from becoming wet. After each use, make sure the container is closed.

